How to Record Videos for Photography Course: Full Instructions
Follow this step-by-step guide to discover the procedure of creating and recording online photography course videos (and including bonus material) in CreativeMindClass which is a tool for free that is used by the top photographers.
How to plan and record your videos in 10 easy steps
Prepare videos, downloadable files, as well as exercises.
At this point it is time to have your course outline ready. Now, it's time to plan how you'll explain each part of your curriculum. Engaging, interactive and entertaining content can create an excellent learning experience for students online. One of the best ways to provide the learning objectives is to mix different multimedia: videos, screen recordings, presentations as well as audio and handouts and exercises.
In this guide, you'll learn the pragmatic approach to creating and recording videos for your course and preparing additional materials such as downloadable files, as well as engaging students in active learning with exercises. Be aware that content preparation is the heart of your course, so you may find yourself studying the steps for quite a long time.
This guide will help you follow these steps.
- Add a video to every lesson
- Select the lesson video type
- Record videos for your online photography course
- Make a fun educational experience that is primarily focused on video
- Create a download file
- Download the documents for your lesson plans
- High-resolution native files to your lesson plans
- Add an exercise to an existing lesson
- Ask students share photos and receive feedback
- Create an online community around your class
1. Add a video to each lesson
Videos are the best method of presenting your information. An online course in photography that is successful can last between 4 and 25 hours of video footage. It's not easy to turn on your camera and record yourself that long.
Keep in mind that videos come in various forms like presentation or screen recordings with audio. This isn't necessary to stand present in front of the camera every minute of the day. If you're having a difficult choosing the best most appropriate type of video for your program, you can read more about various types of videos in the following section.

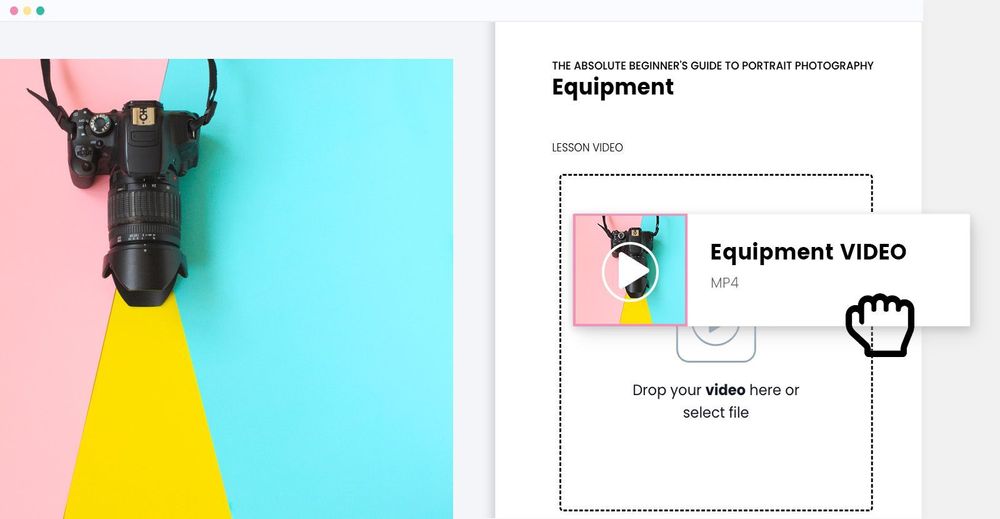
What is it? within CreativeMindClass
- Create a new class for your lessons on video.
- Click LESSONS tab to open it.
- Select VIDEOlesson type.
- Download a video from your PC.
- Add a video to each class.
PRO TIP: Depending upon the software you use to create your videos You will have a variety of video file formats like MP4, MOV, or WMV. Don't worry about that your videos are automatically converted into formats that your students will be able to watch on their desktops or smartphones.
2. Choose the video lesson type
Look at your course outline. Which approach is the most appropriate for delivering the outcomes for each lesson?
The content you include in your classes are the key in creating an interactive online course and give students a great learning experience. The videos you create can be created with the equipment and camera space right at home with your existing skills available.
When you're done making and editing your video, you have multiple small, 16:9 high-quality video files to upload. Keep in mind the high quality of your video. Resolution must be at least 1080p.
There are several types of video you could create to help your classes:
1. Videos showing your face
What does it mean:Showing your face is the perfect method to display yourself online as a real human, placed within a real-world context. This allows students familiar with you and helps establish trust and a personal connection. Viewers can instantly recognize you from your face as well as your smile and your presentation style.
How to do it: Record yourself sitting or standing. The footage can be shoot from one or more angles. There is a possibility of requiring the use of a tripod.
The best option is toTry the videos that show your face, such as an introduction to yourself or the course conclusion.
In which classes would you use this video type? What lesson goals can be accomplished most effectively when creating an instructional video of yourself? Select the lesson and take notes on the description of the lesson.
PRO Tip:For better sound quality for your videos, you should use external microphones. It is possible to start by using your existing microphone in your headphones.
2. Documentary video
What does it mean:A documentary video in an online course shows the world around you and your surroundings.
They work great for your photography studio, in which you can be a guide. Additionally, it's a means to show behind-the-scenes of you working as an artist. The footage is fun that you can mix in during the lessons in order to make them more entertaining. This can give you an opportunity to take a break, and also provide your students with visual stimulation while delivering your the learning goals.
How to do it:The documentary shots are something that you most likely will collect in several recording sessions. These can be a lot of entertaining to record because they can open up creative possibilities for you, as you are able to appear like you are a filmmaker.
Best for:It's an ideal way for you to make interesting videos, for example, to talk about your backgrounds, demonstrate your images, or show your live workshop.
PRO TIP Most documentary video footage you can record yourself. But for some shots, you might need some help. Ask someone you know to assist or find someone to help you for a few hours.
3. Talking head videos
What it is:You know, the talking head videos from Youtube tutorials, which is typically used to explain. The talking head video is an intimate video of you explaining things to the camera.
What you can do: Combine the talking head video with visuals shown behind, for example, presentation slides, video, or even a static image. For this you will need a green screen behind you during recording and add visuals after the production.
Best for:It's great for displaying your software for editing. You can also show some images as examples and leave observations on those parts you love or showcase some common mistakes made by photographers.
Which lesson objectives could you deliver best by creating a talking head video? Pick the lesson you want to teach and then make notes in the course description.
PRO TIP: Lighting is crucial in talking head videos. Beware of shadows, overexposure as well as terrible lighting. Use an LED ring light, or lights on tripods.
4. Videos without showing your face
If putting your face in front of the camera causes too much, you can create videos with no face. It's important to think about the ways you can connect to your viewers without using the facial expressions you use. Find ways to let your personal style shine through your script, your voice, and in your video content.
If you're using avatars or animations, think on how you can make your characters enthral your viewers and help you build a personal connection regardless of your face.
5. A presentation with voiceover
What does it mean:Take a slide presentation, add a voiceover, and voila! You created a slideshow video. There's no need to record you talking to the camera. That's it!
How to do it:Talk over your online photography lesson in Google Slides or PowerPoint. To make it more dynamic and video-like, you can make use of Prezi that allows zooming in as well as other exciting features. Once you have the slides prepared, you explain what's on the slides. Keep in mind the sound quality of your voiceover.
Ideal for:Such presentation can be a simple way of digesting content for those who learn by reading. A presentation with a voiceover is an engaging method of learning. Especially when something needs to be reviewed multiple times or recalled. You present the most important facts using diagrams, bullet points, photos, graphs and even your own personal doodles. This is useful to show examples, such as the cameras settings, the shooting angles or light directions, etc.
Which objectives for the lesson could you deliver best in a talk head video? Select the lesson and take notes on the description of the lesson.
6. Screen recordings
What it is:Screen recording shows what you are doing with your computer's display.
Methods to use it:For screen recordings, you could use Quicktime (on Mac) or press Windows Key + Alt + R. Once you're done with the recording, you can speed up the boring parts and then add your narration or music track. Also, you can top it out, including a talking head type of video, to increase the receptivity of your.
Best to use forSuch photos are fantastic, for example, for that portion of your class where you talk about making edits to photos using Lightroom.
Which lesson objectives could you best deliver in creating screen recording videos? Select the lesson and take notes in the course description.
7. Whiteboard videos
What it is:You can convey your details by using whiteboards. They are relatively simple to make. They are as simple as the black marker with white backgrounds. Therefore, there's no need to fret about your brand's colours and appearance.
How do you do it:There are several ways to accomplish this. The video could be of you in an open whiteboard space or an animated version of photos taken with whiteboards (so there's no need to show you face). Also, you can create it using a digital drawing pad (like an iPad) or whiteboard animation software like Doodly.
The best for:These videos are great to use for creating dynamic elements of your content, drawing something out, or circling it and so on. It can be used, for example, for creating composition lines, or for marking arrows with light directions.
What objectives for your lesson could you best deliver in creating whiteboard video tutorials? Choose the lessons and make notes in the course description.
8. AI video and voiceovers
What it is:AI videos are another great way of creating online courses without showing your face. These are professionally produced videos that include avatars and voiceovers.
Using AI video and voiceovers may make for a fast and efficient method of creating an online photography course. Also, it can be your distinguished method of teaching, but bear the fact that it's hard to establish a connection with your students with AI-generated content.
How do you get it: AI videos and voiceovers are created by converting plain text into audio using software such as Synthesia.
Ideal for:It's an alternative for your face shots if you feel extremely uncomfortable recording yourself.
PRO Tips: If you don't like using an avatar in your online course, you can create a voiceover only to accompany your screen recordings, or slide presentations. This is a great way to get around when you're creating a course in English and don't feel confident about your accent.
Are you of the opinion that you could benefit from using AI video or voiceovers could be beneficial in your content delivery? What particular lesson goals could you be achieved this way? Pick the lesson you want to teach and then make notes on the description of the lesson.
3. Record videos for your online photography course
When you've chosen the kinds of videos you'll use to present the learning objectives for each class, it's time for "Lights cameras, lights, and action! ".
Being a photographer, you are fortunate of being able for you to pick up an electronic camera to begin recording. Photographers have a variety of expertise that can be useful when making video. You know how to look for composition, lighting and other key elements involved in getting a great image, whether it's moving or not.
The thing you must be aware of is how one simple move of the camera or of the objects that you're photographing, can change the composition. Your previous experience can help you adjust quickly. Here are some suggestions for setting your recording area, choose the gear, and finally get started with the recording of your video lessons
1. Make sure you have a recording space
Setting up your recording space is essential to ensure the students get a great education experience when they take the online photography class. The students must be able to view you and hear your voice.
Based on the type of video you've selected to present your learning outcomes, you'll have different setups:
- If you teach in person or showing your work, you'll record yourself.
- If you're a talker, you'll edit your video after having finished recording in order to make screencasts that combine video of you talking.
- For presentation videos as well as screen recording videos You'll be recording your computer screen and do voice-overs for the audio.
- For whiteboards, you'll be recording yourself while on the whiteboard, or capture the computer's screen, then record a voiceover.
You might use the studio to take photos for recording your class, but it doesn't necessarily need to be an expert studio.
PRO TIP:For the video recording, keep in mind the same fundamental rules that apply when shooting photographs: your camera remains stable on a tripod, there is enough light, you frame the shoot carefully, and your recorded area appears clean. For audio, make sure there is no background noise or echo. You can reduce them with blankets, or soundproof acoustic panels.
2. Pick the appropriate tools to make videos.
Start by listing the gear or software you want to make each video. Depending on the type of video you're making, this could include physical gear like a camera or tripod, lighting equipment microphone, or software to record screen and post-production editing. The latest and most advanced technology is enjoyable, however, it's not necessary.
Cameras: you most likely have a recording option in the camera you use for photos. If not, you can start by making use of your camera on your computer or mobile phone's camera.
Microphones:built-in cameras and microphones in your laptop or mobile phone have low quality audio. Choose a microphone that is hands-free or a tabletop mic.
lighting:as photographer you're familiar with the importance of the importance of lighting. The same principles apply to recording videos. Use natural light or the lighting fixtures you already have at home. If you're not satisfied with the results, you can try a ring light or a 3-point light kit.
Screen recordings:Quicktime Player is for that on a Mac or download a free app on Windows called Obsproject
editing: it is possible that you are already working with Adobe Cloud products. For video editing, try Adobe Premiere Rush or Premiere Pro.
3. Start recording video lessons
You've been anticipating this momentous occasion for quite several years. The moment has come to push the button on your camera.
Make a sample video to test whether your recording as well as your video.
It is not necessary to record your video lessons chronologically. Begin by choosing from your course list only the lesson that speaks to you or seems the easiest to record. This could be self-introduction, or you can begin to explore your favourite topics of the instructional lessons right away.
You can leave the recording of the overview and conclusion to the end of recording time, in the event that there is something unexpected that you want to include in your lesson plan.
PRO Tip: You can capture behind-the-scenes of a recording day. It's a great footage to market your photography online course.
4. Develop a learning environment with a focus on videos
Watching a video course is distinct from reading texts on slides. The video course requires certain characteristics, features, navigation and layouts that are specific to video platforms. CreativeMindClass is an on-line learning platform dedicated especially to videos and focuses on providing an engaging learning experience via video.
When you upload your video on an online platform, it's best practice to include an individual thumbnail image to the video. This makes your video look stunning on the screen, however it also adds a bit of task. So we came up with something cool that doesn't need anyone doing any of the task. After you upload your video, we automatically select the best and most memorable times to show as a looped 3-8 seconds video. This is similar to what you recognize from Spotify videos that are shown when a song plays.
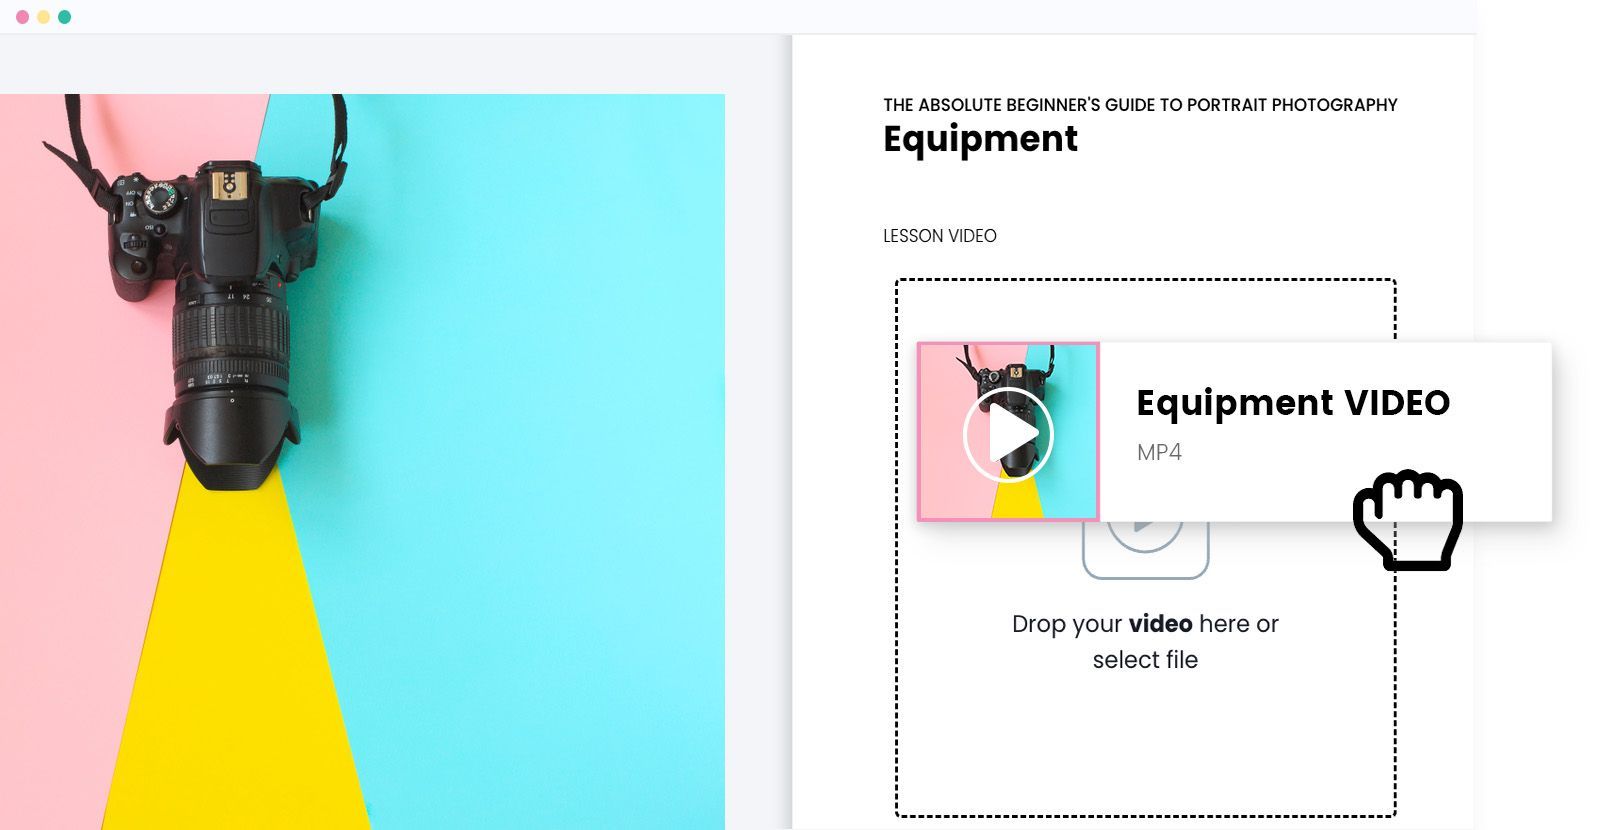
How do I get it in CreativeMindClass
- In LESSON Select in the LESSON, select a VIDEOlesson type.
- Download a video from your PC.
- Click here to Preview and watch the automatically created lesson video.
5. Create a download file
Downloadable documents are an excellent supplement to your class. They are not only effective in delivering your primary learning objectives as well, they're also great for engaging learners. It's also nice that they might be seen by your students as nice small gifts that can improve the quality of your class.
If you add an extra document to your lesson your students are able to download it, print it or fill it out, or edit it.
Such downloadable file doesn't have to be printed out. It could be filled out and downloaded digitally. For instance, on an iPad, or your students could work within the PSD image on their desktops. Once they do that, they give the file to you for feedback.
Downloadable content makes your material enjoyable and entertaining and can leave your impression on their pulpits as well as desks. There is more information about the downloadable file in the following paragraph.
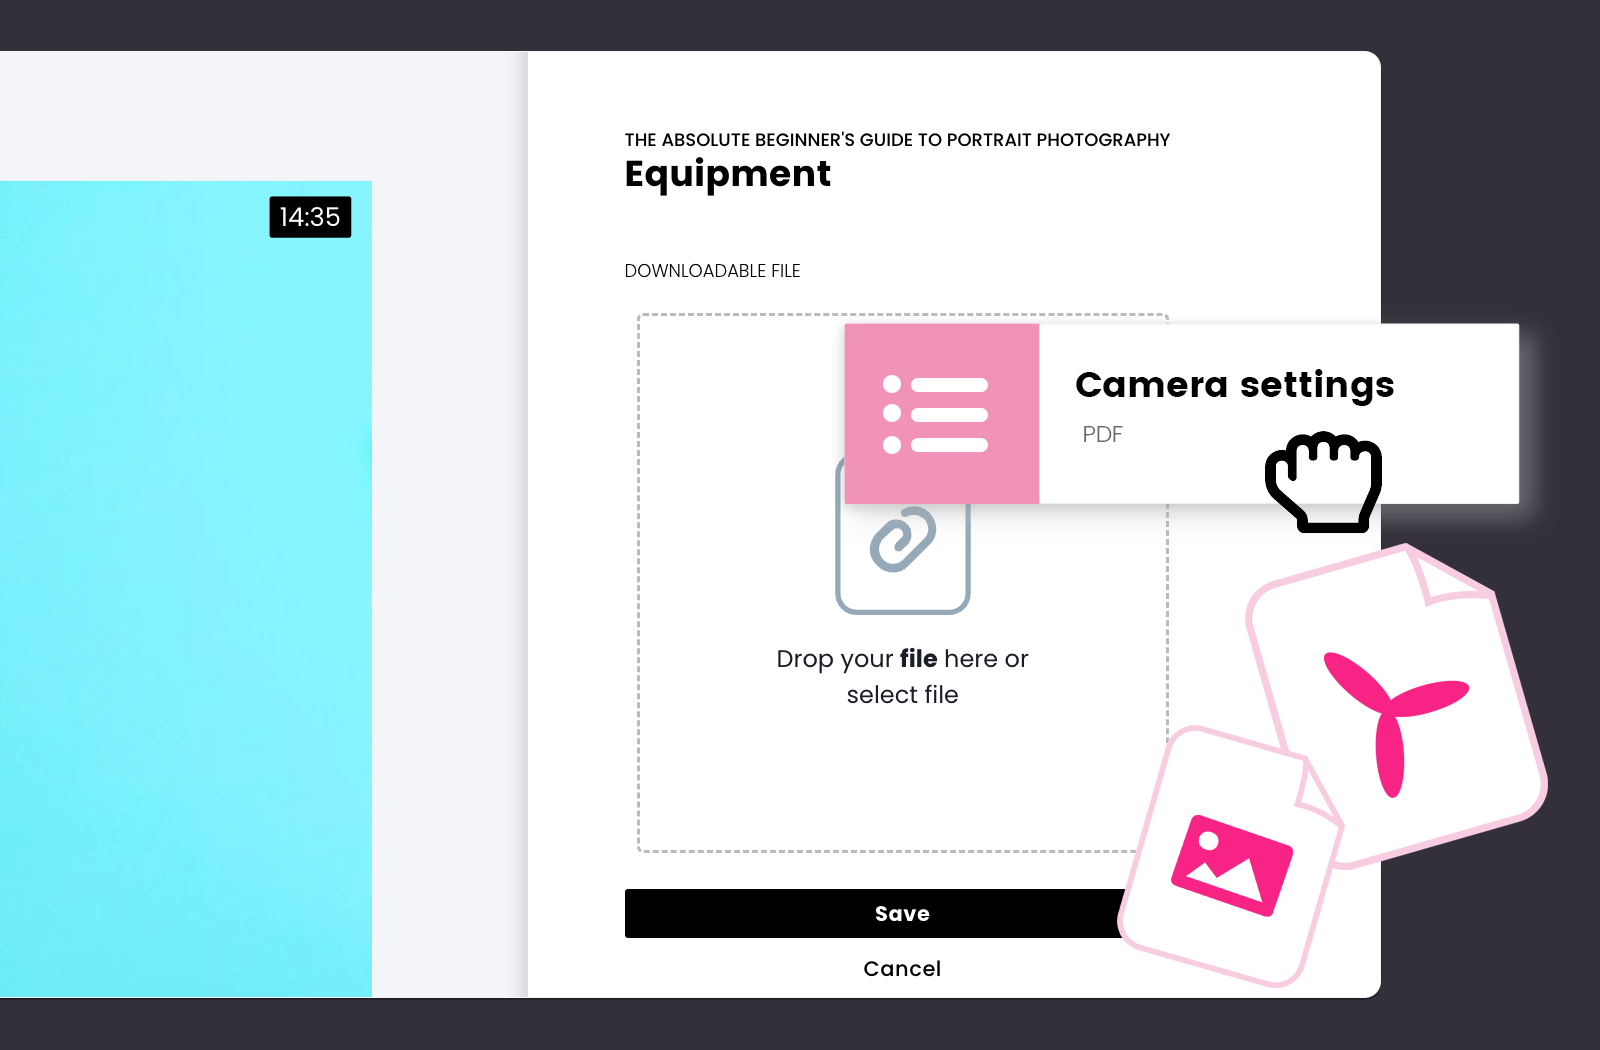
How do I get it within CreativeMindClass
- Click to LESSON - Content tab
- Select DOWNLOADABLE FILE to transfer your file.
6. Choose the downloadable files for your lessons
1. Printouts
What is it: They are images or PDFs. Are you looking for your students to recall something, or adhere to the steps in a specific order? It is possible to do this by distributing a PDF document. Printouts can be added to every lesson, with all the information you could imagine whiteboards notes, slideshows, etc. Create additional information or reuse content that you have learned from your lessons.
Methods to use it: You can create prints using text editors, or Canva. The students are able to take notes, or... you could give notes to them. Choose four or five important areas that you'll cover in a specific lesson.
The best in: The perfect method to deliver, for example, lesson key points, camera setting specifics, as well as an introduction set. They work great for planners, checklists, briefs, stories, and mood boards.
PRO TIP If you use presentations in your classes One great idea is to give them to the students so they may take notes about them.
Do you believe that providing printed copies could be helpful to the delivery of your material? Which lesson goals would you be able to accomplish in this manner? Choose the lessons and make notes in the lesson description.
2. Documents to be filled in
What it is: They are PDFs and Pages/Word files. Worksheets are the documents your students can fill in. They can be plain pages of text or stunning worksheets designed in your own fashion.
Methods to create it:You can create it with Word or Pages, or make use of colourful templates available from Canva. It is possible to receive your completed worksheet back from your students. In order to do this it's necessary to integrate it with an activity that allows students to upload their files for a class and receive the feedback of your students. The details will be covered in the next section.
The best choice for If you have in your photography online course brainstorming exercises You might ask students to note their ideas down. They can use a mind map as well as a table or even a storyboard, to help fill the gaps. They are also great for recording responses to your questions as well as other assignments, tasks, and assignments.
Would you consider distributing the worksheet could be helpful to your content delivery? What particular lesson goals can you accomplish this in this manner? Select the lesson and take notes within the lesson's description.
3. Native editable files
The definition of HTML0 is They're native files that applications (like Photoshop, or Lightroom) create, and a student can edit. They are also known by the names of .PSDs, .RAW, .TIFFs, .AIs, .docs, and so on.
What to do:Create a document and export it in a native format and upload it into a class. It is possible to combine it with an exercises, so that your student will be able to give your file back for comments. The details of this will be discussed in the next section.
Best for: These files are ideal to edit parts of your photography online course or when you wish to incorporate some presets within the document. Your students will then work on native files using Lightroom as well as Photoshop.
Are you of the opinion that an editable native file would help your delivery? What specific objectives for your lesson can you accomplish this way? Choose the lessons and make notes on the description of the lesson.
PRO TIP:Make sure your students have access to the program that you're using. Otherwise they won't be able to work on the document.
4. Another video
What does it mean: You can upload video clips to accompany any lesson, and your pupils can download the video. It's fantastic for teaching complete details. Also, you can provide additional learning resources for learners who want to take on additional tasks.
How do you do it:You can record an additional video during or it after you have recorded the material for your online photography class.
Ideal for:You could use it to create instructional videos that need to be watched multiple times, for example, the best way to alter the settings of a camera.
Would you consider having an additional video might help your delivery of content? Which specific lessons objectives could you achieve this way? Choose the lessons and make notes within the lesson's description.
5. Include software links in downloadable documents
What it is: You can add a link inside your downloadable document so that only students can access it.
What to do: Paste any link in a text file and upload it to a class.
Best for:It's an excellent way for giving your students other learning tools. Or when you want them to access a website that allows them to create something like the mood board or mental map (like Milanote). In this way, you could make a hyperlink to an online tool that doesn't generate the editable files.
PRO Tips:If the software you employ to edit images produces editable native files (like Lightroom or Photoshop) you should offer the files as downloadable.
Are you of the opinion that allowing an external link could be helpful to your content delivery? Which lesson goals would you be able to accomplish in this way? Choose the lessons and make notes in the lesson description.
The additional downloadable materials the students bring into their lessons will help you deliver the learning objectives effectively. The downloadable documents can be created using software like Pages/Word, Google Slides, Prezi, Photoshop or Canva. Some are free and may be included with your laptop Others will require purchase.
Keep in mind that some educational materials (presentation slides, planners) designed for videos are downloadable documents. You can export them to PDFs and then upload them onto your website. A few are already ready while others require some tweaking.
Assignments can be created using other files, such as worksheets or native file formats. Combining it with an exercise enables students to upload their documents to the lesson and receive responses.
After you've completed the files for download then you'll have quality image files or edited native files you can upload.
7. Upload high-resolution or native images to your lessons
If you upload files on the internet Be aware of compression size of images. This can cause them to lose quality. In CreativeMindClass Your students can get exactly the same image you uploaded without losing the clarity, and we also support native file formats (.TIFFs, .PSDs etc.) to allow photography students to take their learning to the next level from making.
In CreativeMindClass every lesson within your program can include an extra document. So, students can watch the lesson and download the file precisely when they require the file. If you want to get the files that were completed by your students All you need to do is to add an exercise, it unlocks this option. This is the subject of the next section.
Supported downloadable file formats: We support most well-known file formats. Upload .PDFs, .JPGs, .PNGs, .MP4, .doc and editable native files including .RAWs, .TIFFs, or an .PSDs Pages/Words The list of supported formats grows.
Size of file: Remember to keep the file size to a minimum (approximately 1 MB) and maintain the clarity of PDFs and photos so students can enjoy quality visuals while downloading them fast. Files that can be used for work, such as Pages/Word or native files tend to be larger in terms of size. The bigger they are longer it takes to download them, but they are such interesting ways to study that it's well worth the effort.
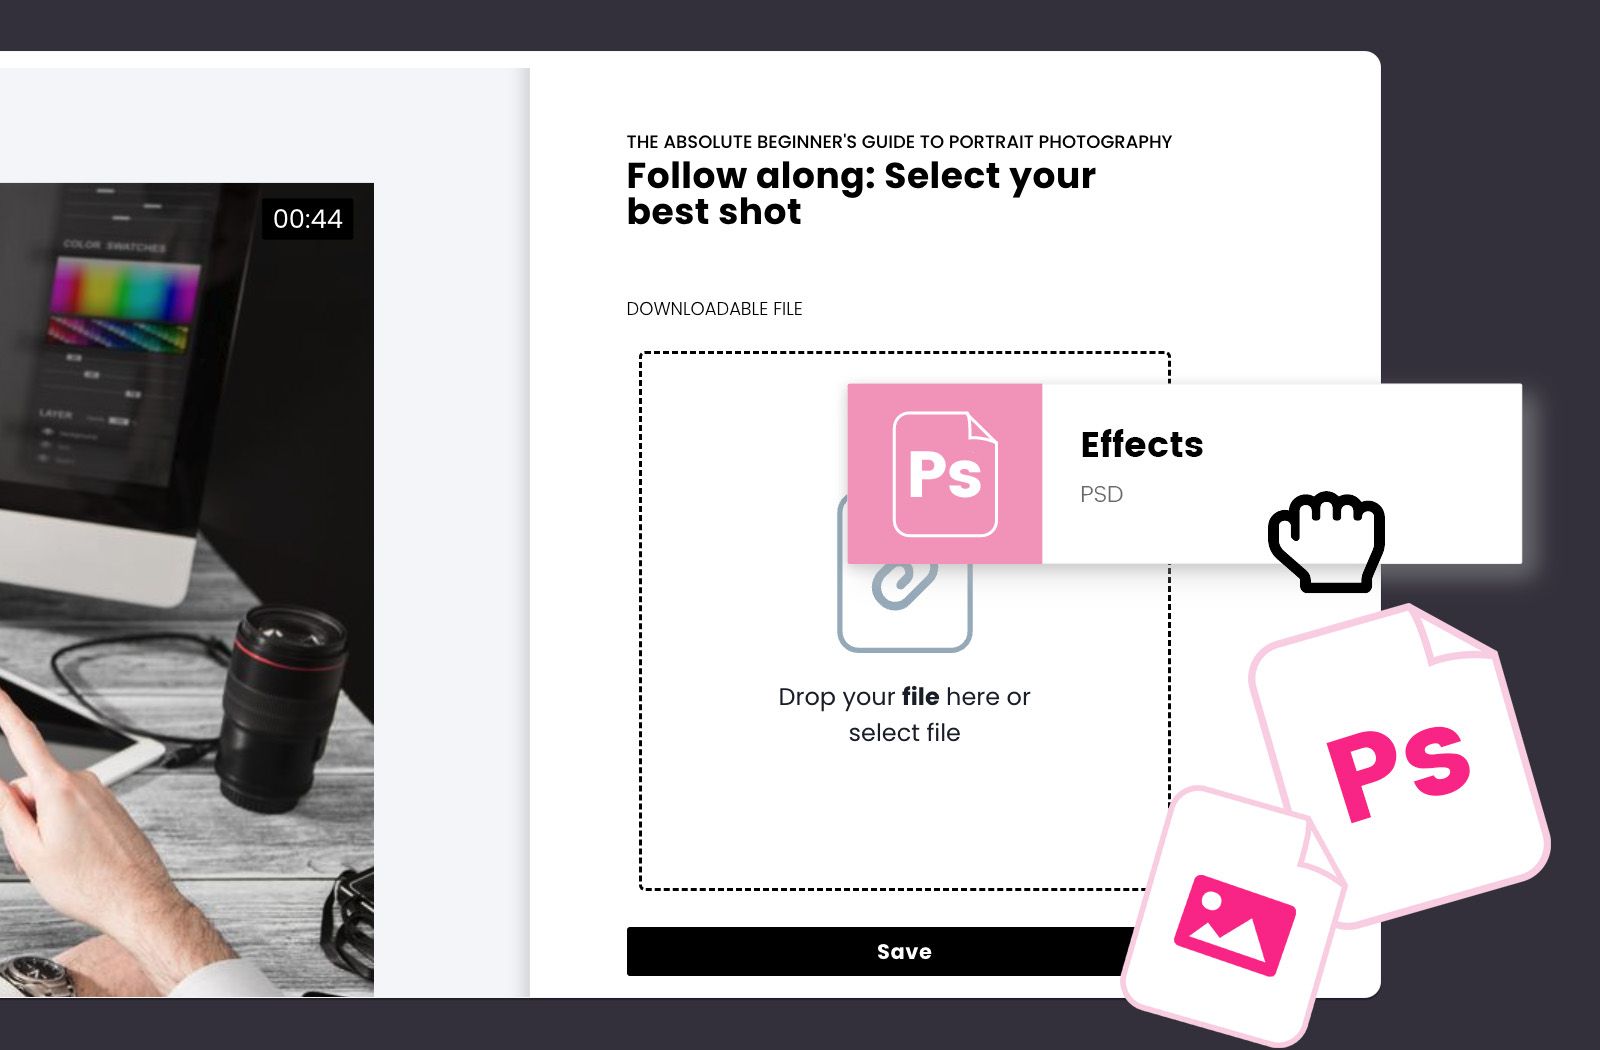
How do I get it in CreativeMindClass
- Click DOWNLOADABLE FILE to transfer your high-resolution file.
8. Add an exercise to an existing lesson
Exercises can be a powerful method to help students achieve their learning goals. Students are engaged in learning by engaging in. This type of active learning usually consists of an actionable task and feedback from the instructor.
Think about the learning experience that you'll design to assist students succeed in their pursuit of their goals. Look at your Lessons list. What lessons might have interesting and engaging activities to help students learn? Are there lessons that could include homework tasks? What brainstorming exercises could be included? What's the end-of-course task in your course?
How to do it within CreativeMindClass
- Navigate to the tab titled Content
- Click the EXERCISE button to design an exercise to teach your pupils.
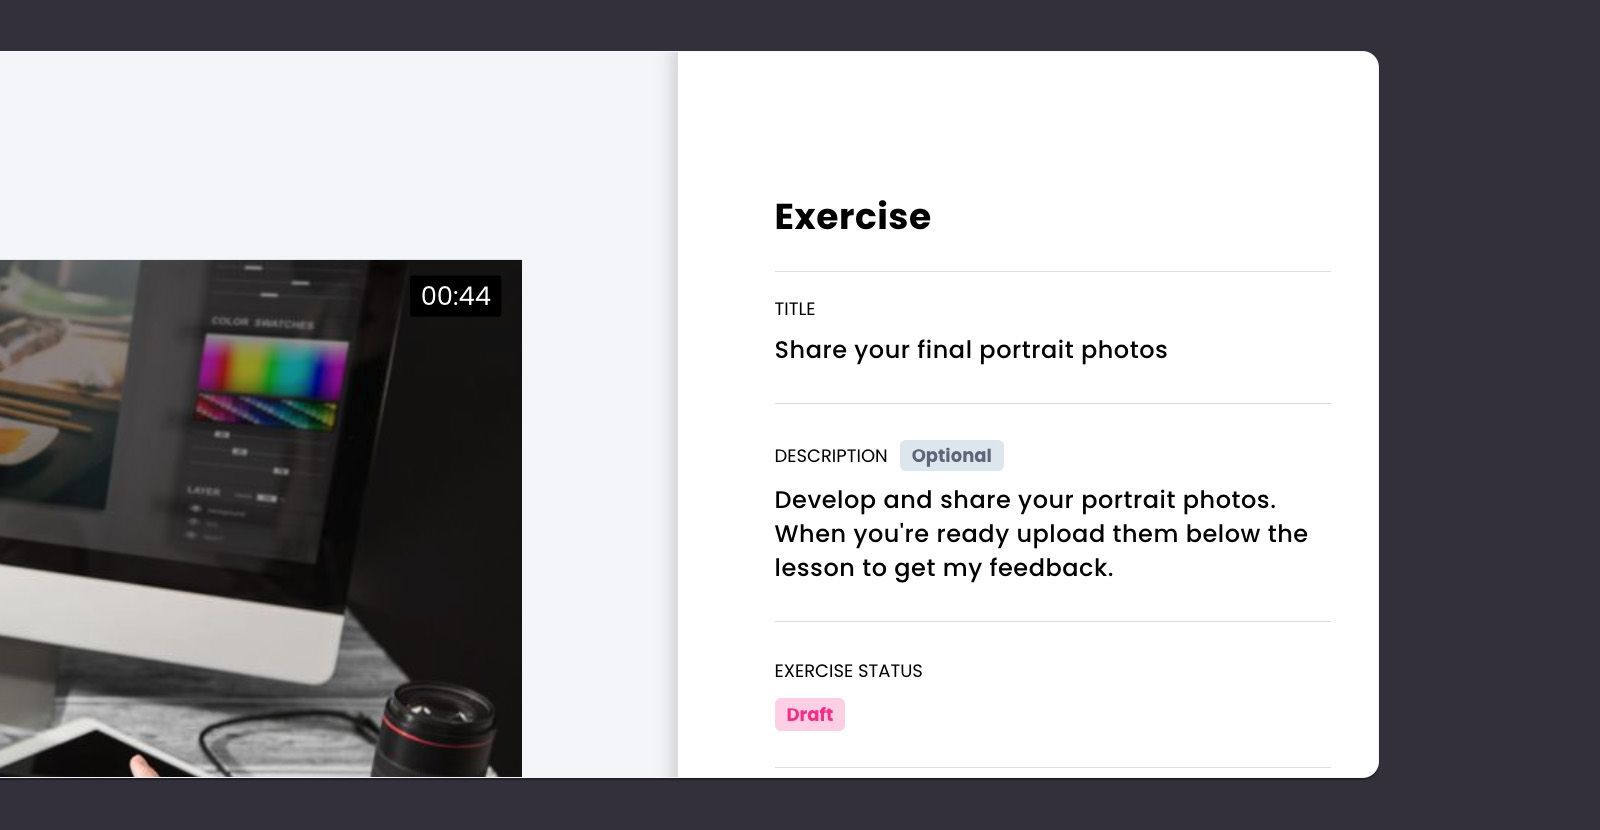
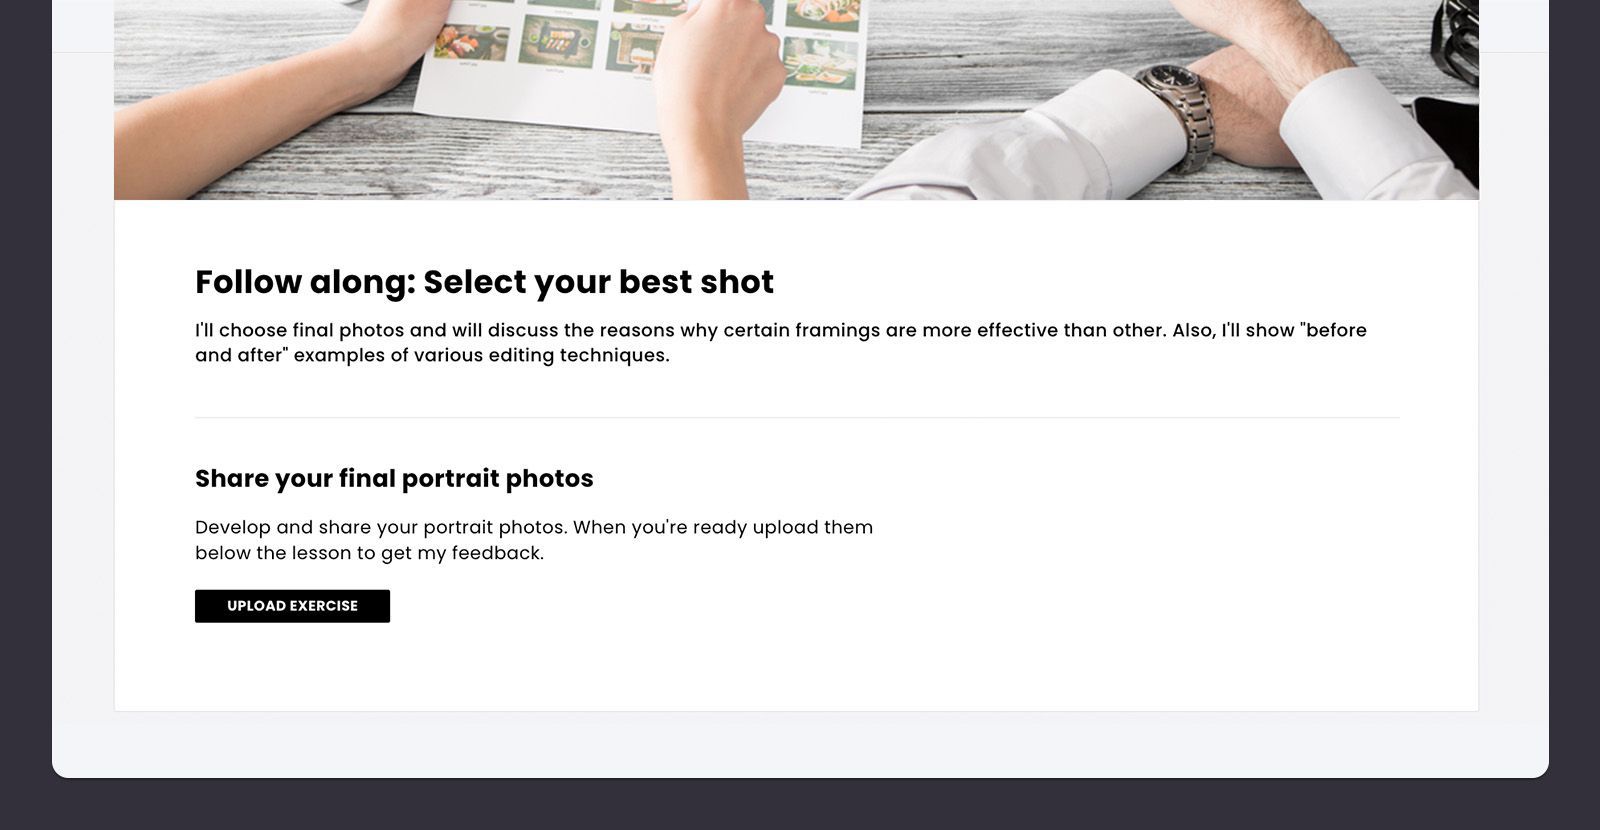
9. Students should be asked to submit photographies and get your feedback
The online photography class asks students to complete a project as a final such as an image shoot. In the event that you incorporate such exercises for your students, they can snap pictures using the methods they learn during the course and upload them to CreativeMindClass, where you can offer the feedback.
PRO TIP: The students' end-of-course results of your photography online course may be posted as exercise files. The results will be uploaded to the Activity Feed together with your feedback. That creates great testimonials and social proof for your web site.
How to do it within CreativeMindClass
- Go to the tab for Content of the lesson
- Click on EXERCISE to make an exercise.
- Enter the your TITLE. For example "Share your final portrait photos".
- Type DESCRIPTION. For example "Develop and upload your portrait images. When you're ready to upload them, you can do so under the lesson and get my comments ".
- Once your student has uploaded their task, you can go to students' workto give your feedback.
10. Build an online community around your class
Feedback and activities for learning are the initial steps towards creating a community that is engaged around the online course. There is no need to continue there, or you can improve the experience your students are getting to the next step. This helps to improve your business's performance and expand your brand reach.
Activity Feed can be a great way to create an online community. It helps drive visitors to your course's site, assists in keeping clients, and boosts the amount of money you earn.
If you post some motivating articles to your online course website, you'll be able to create a great base for building an active community around your brand and business.
How can you keep your students interested? What kind of content do you typically share on social media? Do you have any tips you can share about gear, composition, or software? An excellent way to keep students interested and motivated to finish the course are daily posts that provide inspiration for the final project.
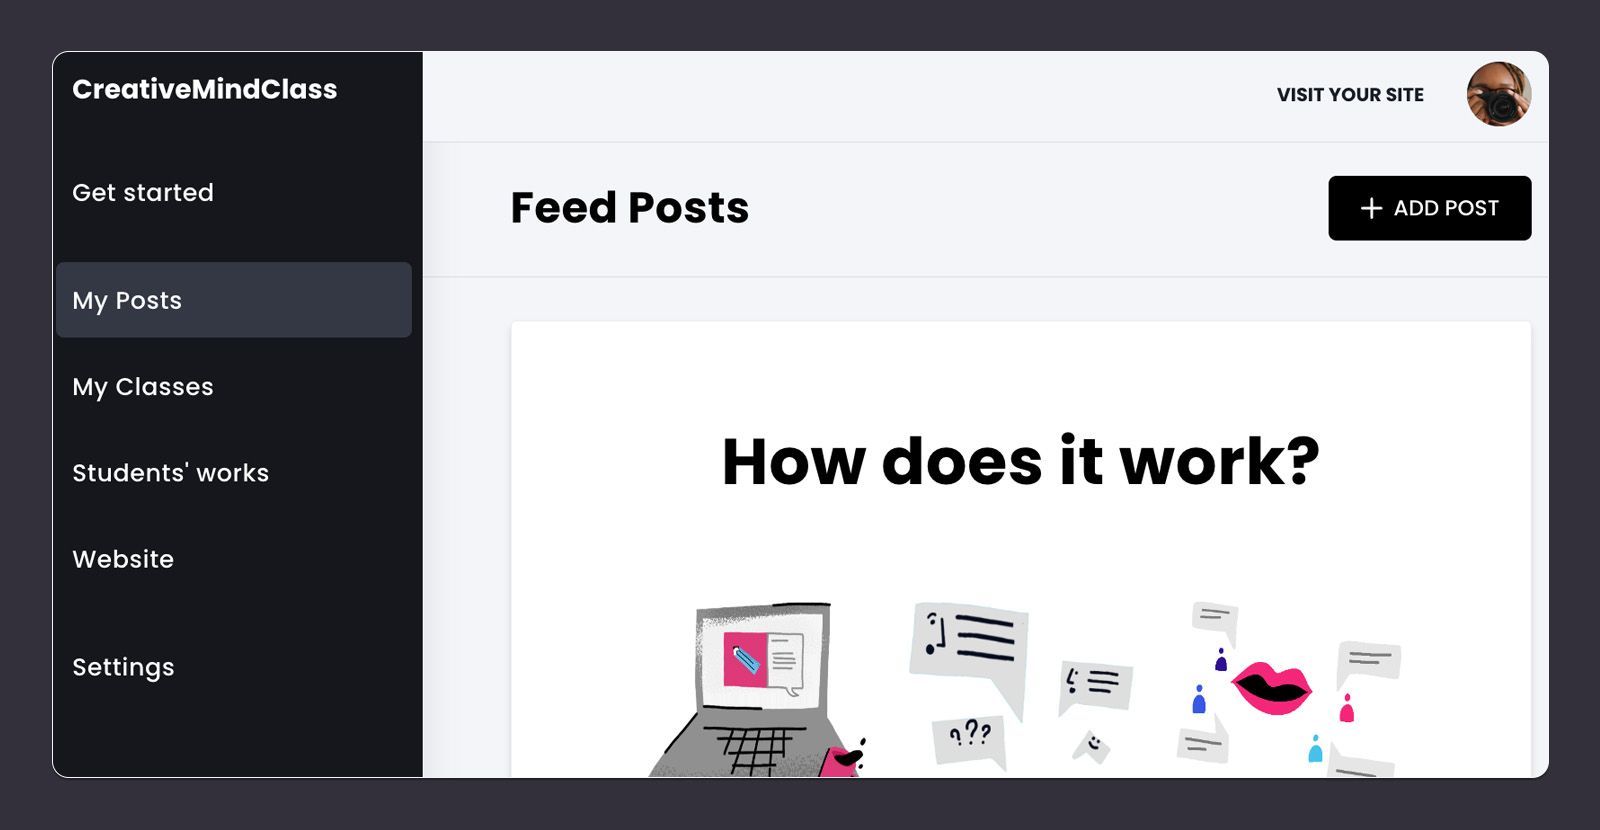
What is it? within CreativeMindClass
- Simply click My Postsin the main menu, to launch it.
- Click the Add Post button to start the new post.
And you're done!
Congratulations! Now that your content is complete, you've got the foundation of your online photography course in place. If you are starting your own online photography course immediately, make use of the free template below to plan and record an entirely new video and read our full instruction to how to create an online photography class.
Design your course's photography videos. Today.
Get started for FREE with CreativeMindClass's easy-to-use template.

- Start with your lessons in video
Register for free, with no limit on time
SHARE The link has been copied!
This post was posted on here