
How to make a website you love in an afternoon at no cost |
This step-bystep guide will show you how to make a website for your business of a small size that is as authentic and appealing as you.
"I think I need to... create an online site," you think to yourself. You're exhausted and exhausted by the 6-month, six-figure coding project in front of you.
Yes, you're right in one aspect. It's necessary to have a website. It's my pleasure to inform you that creating one does not have to be difficult or expensive. It doesn't have to be stressful or even scary. You can get it for free.
Your website is a virtual shopfront for your organization. Your website is your personal web page that allows you to find the people you want to reach, interact to customers, generate sales and impart your expertise. You can design and manage with no jarring ads or algorithms designed to entrap your viewers' interest.
However, setting up a site to the first time or simply updating the website, if it already has one, can feel like a massive chore. It is necessary to be a web developer, graphic designer copywriter, photographer - but all you really want to be able to manage your online business.
That's why I put together this tutorial on how to set your own website for free, beautiful, and won't take a hundred years to build - so you can go back to doing what you do best.
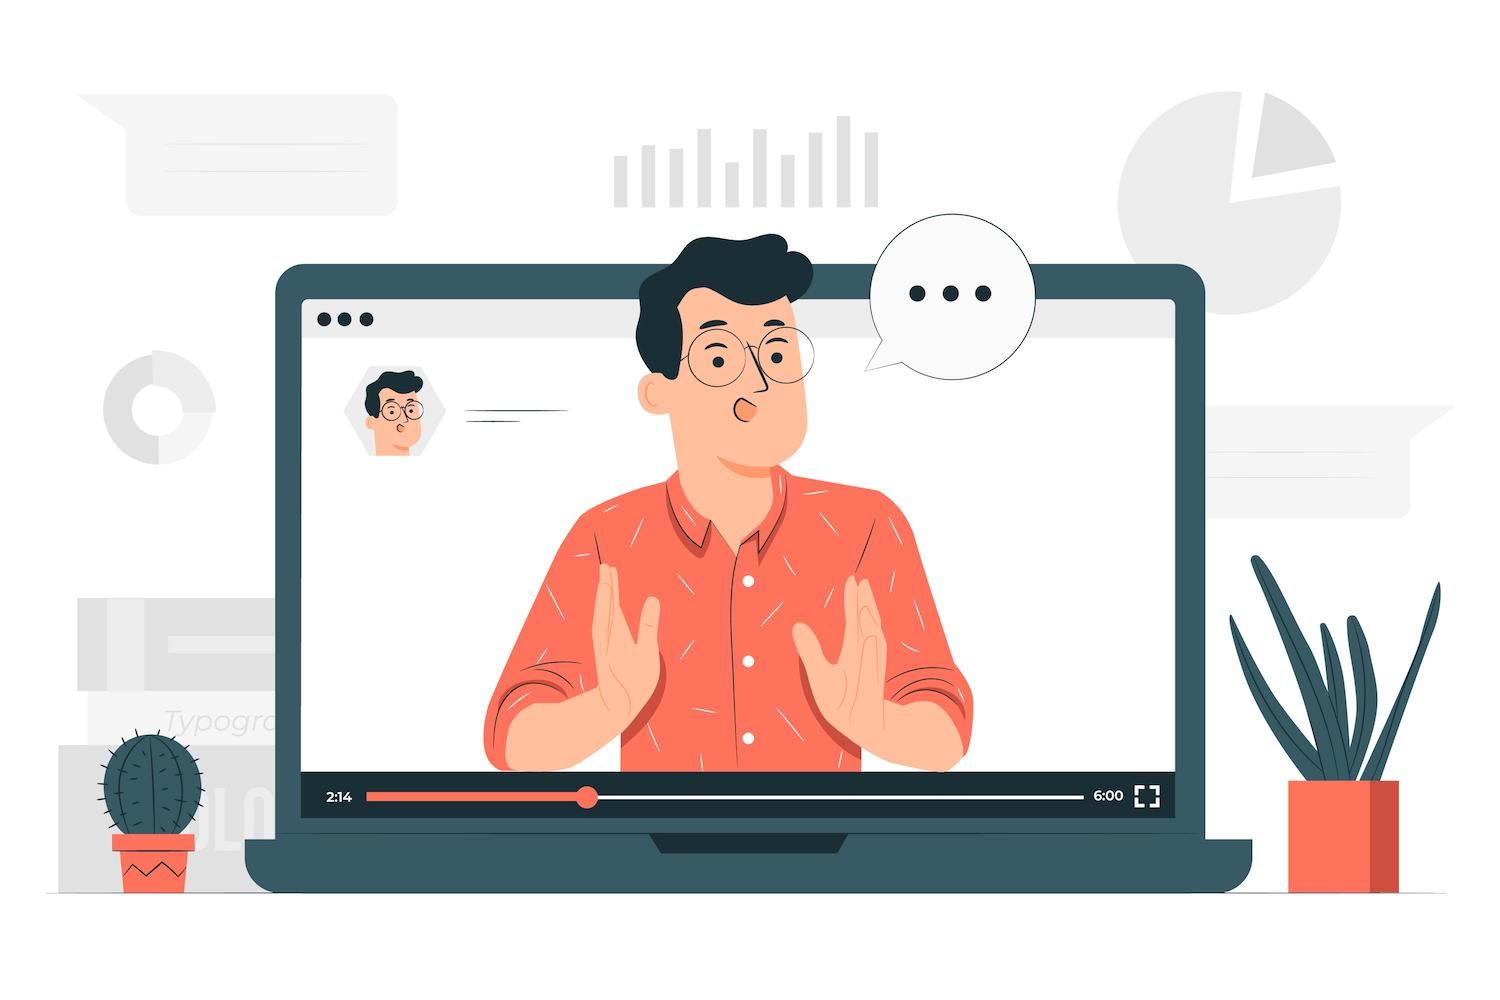
Throughout the article, you'll see videos that show you how to create your website step-by-step. I've wanted to build websites about one of my favorite activities, planning trips, so I'll build my brand new website along with you. That way you can see the exact steps to take and come up with ideas for your own pages.

There's a lot to complete, so let's get right into it. Up first, what tool can you employ to create an online site?
Choosing the best website builder for your business
The past was when setting up a website meant hiring developers, study programming, and set up all kinds of tech behind the back. This is still the case today if you want to, but thankfully, it's not necessary to.
Website builders are tools that allow you to create what you want without coding. You can set up your web pages in a visual manner and then move objects around as you want and then click publish.
A few website builders are also equipped with extra features that can help you run your business online, such as integrated digital tools including email marketing and Content management systems.
There are four excellent web builders worth considering beginning by my personal favourite:
There are no surprises in this! This is an all-in-one solution to manage your online creative business. Within a matter of a few days it is possible to set up your landing pages, website, blog, email list online courses, digital goods as well as affiliates as well as everything else you require to start and grow a company.
Your website, blog and landing pages are included on the free plan as well as a myriad of stunning pre-built web pages available - without coding or design experience required. Website hosting, your SSL certificate, and a free domain name are also included.
While WordPress is free however, you must purchase hosting for your website as well as your domain. The next step is to choose an hosting service to create an account, install WordPress before adding your theme and plugins to make sure your site is functioning.
is the most effective website building tool to help small business owners, and experienced entrepreneurs because it grows along with you.
- Create a free website
- Sell products on the free plan
- Build a blog with unlimited pages for landing
- Upgrade to add additional options (like affiliates and courses) at the time you're fully Get my free account -
After you've picked your website builder, the next step is to think about what you would like the site to communicate.
The process of creating content for your website
It's tempting to dive straight into the new site builder. (Anyone else love tinkering?) It is important to take the time to plan makes the process of setting up more smoothly. Plan one or two hours to do the following things:
Find out about your target audience.Who is your ideal customer or readers? Try to narrow it down and consider who exactly you'd like to collaborate with. Go towards YouTube, Reddit, Google reviews or other social media sites and search for questions that are common as well as desires and pain points. This can be used in your website copy.
Choose your branding elements: makes it super easy to customize your colors and fonts so your site feels as if you are. Choose your colors for the brand or pick one from the color palettes that are built into . If you have a logo, photos and headshots, as well as other items for your brand, collect those today as well.

Create a website's structure:Decide what pages you wish to feature on your website for business. For most people, these core pages are an excellent place to begin:
Home Page
About page
Page for Products and Services
Pro tip: Begin with less - you can always add more later.
Write your copy for the page:It's helpful to have an concept of what you would like to say on each page when you are setting up your content in your site builder. The draft doesn't have to be the last copy however it can help you see how the design of your website and the text will work.
Once you've come up with a plan, it's time to set up your website. Do not be concerned if you alter your mind in the middle, that's totally acceptable. It's your base from which to take this step.
Let's create your site!
The day you've been waiting on. Once you've selected the site builder you want to use and written your game plan, it's time to build your own site. You don't require any web development expertise required.
This is the one I'm using on my site using the example here. Sign up for a free account so we can work with you .
Set up your primary website pages
Let's start by opening the home page of your site by clicking on "Site" as well as "Edit the site." It should show the page mostly empty and when you hover your mouse on it, you'll see a little plus sign. Click it to open the edit menu in the left hand side.
In the left-hand menu, you'll have the option to choose which section you'd like to include. has pre-made sections that include text, images and testimonials as well as FAQs, product features, CTAs, email sign-ups as well as everything else you require. You are able to modify the content and design of every section you create by using the left-hand sidebar.
For this basic homepage we can add these sections.
Text hero that says the purpose of your company
A grid with your featured products or services
Bio to information about you
Email opt-in Form
But there's a lot more that you could do by using this. Once you've added products to your account, you'll automatically get access to more categories like featured items as well as categories. But at present, this simple page works great.
When you've created the sections on your homepage you'd like to add you want, it's time to ensure that your website looks and feel exactly like yours. Click on the "Design" menu at the very top menu to modify your site's color scheme, fonts, width and buttons. You can also change the images and padding. These changes will take effect everywhere so your pages all look cohesive.
In this video, I'll set up my homepage on my website for road trips:
Follow these steps to create your About page, Products page, Services page or any other page that you want to have on your website.
To create new pages, click on"Add New Page" at the very high point of the left-hand sidebar. Click "Add new page" to add a new page. You can click the gear next to your new page to customize the URL as well as the name of your page.
Create a blog on your site to bring in new viewers
Within, select "Blog" in the upper navigation menu, to toggle the blog feature for free on.
Then, you'll see four sample posts loaded into the blog's post page. It is possible to delete them and then add your own.
Go back to the web editor and you'll be able to see two additional pages on the left sidebar there's an "Blog" page and a "Blog post" page. Click on each one to alter the design of your personal blog posts, as well as your blog's homepage.
In the video below, I'll set up my road trip blog step by step so you'll know how to navigate:
Again, a blog can give you more ways to connect with your audience members and get discovered online.
When people search for the areas you blog about Your blog might be one of the search results that show up. This gives you a long-lasting way to attract new readers, and you can use featured items and sign-up forms for email subscribers within your blog post for more sales, and remain in touch.
Need some blogging tips? These articles will aid:
Set up your email newsletter so that you stay in touch
While it's a good thing to draw new users to your website but it's quite another to maintain their interest in your company's image.
(If you're using a different web platform, or want to use an alternative email provider on your site it is possible to make use of integrations to link to everything.)
You can add email sign-up forms to your site with your "Email form" as well as the "Slim mail form" sections, and you may also include a landing page for your newsletter email to ensure that your subscribers don't get it.
To set up your webpage for email marketing, you need to know how to go about it:
Return to the site editor, and create a brand new page
Click the plus sign on the page, and then add an email sign-up page
In the text areas, tell people what to expect in the event that they subscribe to your newsletter. What will they gain? Create something that is interesting to them.
If you'd would like to, you could create additional sections similar to your bio, FAQ or even a section for questions.
Once your page has been set up and you're ready, we'll put it in the header within an hour.
Here's the video so that you are able to follow the video:
Adding your digital products to earn income
It's simple to include products it's possible to sell one digital download and one coaching item with the basic plan. If you'd prefer to sell additional products on your store (like webinars, courses with unlimited downloads and unlimited coaching products), you can upgrade to the Mover plan and get unlimited everything.
To create your digital products, click on "Products" and then select "New Product" on the top menu. Choose the type of product you'd like add, and then you can alter the information such as title, featured image descriptions, prices, availability, category, and the files included.
(Make sure you add a photo and short description of your item because 's website builder can display this information automatically to save you time.)
When you are working on your site, you can use to display the "Featured", "Products," and "Categories" sections to showcase your merchandise.

It automatically creates a sales page that is unique to each product. it is possible to customize them too. For your product's sales pages, you can go until"Products" in the "Products" section on the builder for your website and click on the title of your product to modify it. After that, you can include sections, content and design elements the same way you did on your home page as well as the main pages.

Then, build your footer and navigation for keeping everything in order
Your pages are up. You've got your blog. You've got your email newsletter. You've got your products. We'll now tie everything together by putting it in your footer and header so website visitors can find how to navigate.
The hot take is to not include every link within your site's header.
This is valuable real estate, therefore it is important to direct visitors only to the most relevant webpages.
When you're starting out, I recommend linking to your about page, product or service page, blog, and newsletter landing page. When you're adding products, you can also add a link or two to your most well-known product, or whatever they'd like to get started by when they're first introduced to your brand.
The footer is also prime area on your site and it shows up across every page. It is possible to include hyperlinks to your most important sites and social media on this page and also an email newsletter sign-up form. Write a paragraph about your company in the footer, so that users know about who you are and the things you're doing, no matter what page they land on.
We'll put the header and footer to .
The boring but essential - domains, analytics and various other site settings
The time has come to put up your gorgeous new site, but there are some technical aspects to do before we share the site with the world. (I admit it, I'm aware, you were hoping that there wouldn't be any technical problems, but they don't seem to be that daunting.)
First, your domain. Your domain name is the domain name people put into a search engine to locate your website. Its domain name is www..com , for example.
A majority of website builders for free offer a free subdomain. With , your free subdomain is [yourbusinessname]..com. You are able to customize it in your account settings, and use the free domain for the duration you like It's already integrated into your account.
If you'd like to have your own domain name you'll need to purchase the domain name you want from one of the domain registrars such as GoDaddy, NameCheap, or Bluehost, and join it with your web site.
The website's platform will give instructions for how to connect your custom domain to your account after purchase of the domain. Domains typically cost around $20/year.
The majority of web builders allow adding a custom domain can be accessible on plans with a paid subscription. By connecting an individual domain to the Starter plan which starts at the price of $4/month.
Next, analytics. No matter what website tool you're using it's an excellent idea to connect Google Analytics so you can observe your website's performance and learn more about the audience you serve. It's as easy as creating a free Google Analytics account. Google Analytics will provide you with a tiny line of code that you can insert into your web tool.
You can join Google Analytics in the "Settings" section of the Starter plan as well as the higher.
Then, you can set up the SEO of your entire site and set display the settings of your description for your website, favicon, and SEO image.
Meta description Meta description: Your meta description must be brief, not more than 1-2 sentences, and contain a brief overview of your job.
The default image is the image that appears in the preview of your site is shared. This image could also show on your website's the results of a search. Create an unbranded brand image with Canva or create your own logo.
Favicon Take a look at the tabs you have opened in your browser. Do you see the little images that are next to each of them? They are referred to as Favicons. You can use Canva to create an individual one.
These small details can improve the look of your website and make it appear more professional. To change these you click on the "Site settings" link in the lower part of the editing menu on the left.

7 Step Website Launch Checklist
The time is near. I know it's so exciting to have your online presence in place, so take a look at this easy checklist to launch your site before spreading the good news.
#1 Verify your page URLs: Visit the settings for every page on your site (click the gear next to the name of the page in the builder of your site) and verify that the URL link is what you want it to appear. No random numbers and letters. Concise and descriptive. Do not include dates unless the page is time-sensitive, which means your URLs don't look outdated in the future.
#2 Review your descriptions on pages as well as SEO-related images: While you're in there, make sure you include a description of your page and an SEO images that are appropriate to your site. It will help inform search engines what your content will be about. This will improve your ranking as well as give your site an upscale look.
3. Check the buttons: Make sure all your buttons and links go where you want they should go. As I looked through my website sample I noticed several areas that I'd put a link which was in the wrong place, so take the time to click every single thing.
4 Delete filler text: If you used filler text (like Lorem ipsum) remove it prior to going live. When you insert an additional section to your website, it will automatically fill in the text to observe what the new section appears as. Make sure you've swapped in your own words or deleted all text that isn't being used. I've seen massive websites that don't do this.
5 Check your site on different gadgets: Pull up your web page on your mobile device as well as your desktop. Try to view it across as many different size screens as you can. Are there any areas which appear shaky? This is the perfect time to fix them.
#6 Go through your whole website using Grammarly or another online proofreader: Grammarly is a free online spell and grammar checker. I highly recommend cutting and pasting all the bits of content you've composed into Grammarly prior to publishing. (Confession time, I just pasted my road trip website content into Grammarly and came across some silly errors... Be sure to complete this process!)
7. Request feedback: Finally, send your website out to some close friends or family members to get their feedback. They can inform you if a page is difficult to read, it's difficult to navigate or a product requires more explanation, or a page is showing up in a funny way on their gadgets. The act of looking at something for hours makes us miss things that others can see immediately.
Keep in mind that done is always better than perfect. The beautiful thing of websites is that they are able to update them at any time you want. If you find a typo next week, you can take a look and correct it. If you want to change the appearance of your About page or discover that your photo isn't performing for you, it's an easy fix too. Don't let your perfectionist tendencies stop you from launching. Let's get your work put out there.
You have a beautiful professional site. Now what?
It wasn't like you thought that you had finished, did you?
Just kidding. Sort of.
You've got an amazing website And that's just the start. There's a lot you could do for a small business proprietor who has an online presence and below are some suggestions to keep expanding and take your company up a notch.
Make a welcome email for new subscribers: Send an automatic welcome message when new subscribers are added to your email list. You can build this in your "Campaigns" area of the Email tab. ( Step-by-step instructions here )
Try different HTML0 products: Courses, downloads and coaching webinars bundles, etc. - think of different digital products that could be beneficial to your target audience. give them a try. ( Read tutorials here )
I'd like to give my congratulations to you for the work you've done on your website. The creation of a website isn't a simple task and you've done an amazing job. They're our own extension online Now you're ready to share yours with pride.
And if you're still looking for a place to live, we'd love to have you at . allows you to build your complete website for free, and you can set up your email newsletter, blog or landing page as well as digital products as well. Register for a free account to begin .
That's all there is to it. The time is now to amaze you, motivate, inform, entertain, and educate your family, friends and clients. You're welcome to have fun!
Sign up for a free account
Join 150,000+ creators who use to create web pages, offer digital products and create online communities. Register for a free account